TX Barcode .NET for WPF WPF User's GuideTutorial: Starting with Microsoft Visual Studio 2012 (2010), TX Text Control and TX Barcode
This tutorial shows the required steps to insert a TX Barcode .NET control into a TX Text Control document.
The source code is contained in the following directories:
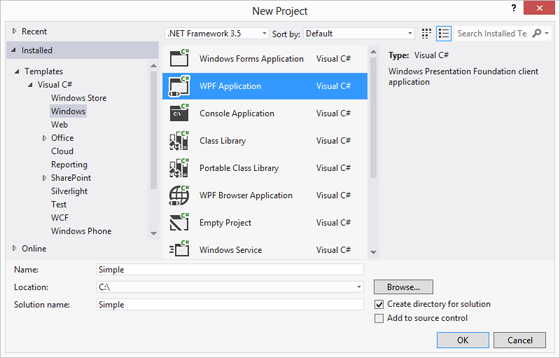
Start Visual Studio .NET and create a new project. Select either Visual Basic or C# as a project type, and WPF Application as a template.
Find the TX Text Control 19.0 toolbox tab that has been created automatically. All usable TX Text Control controls or components are listed in this tab.
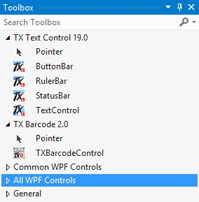
Click on the TextControl icon and draw it on the form.
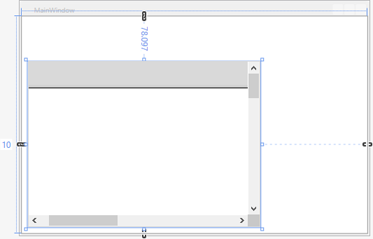
Find the TX Barcode 2.0 toolbox tab that has been created automatically. The available barcode control is listed in this tab.

Click on the TXBarcodeControl icon and draw it somewhere onto the form.
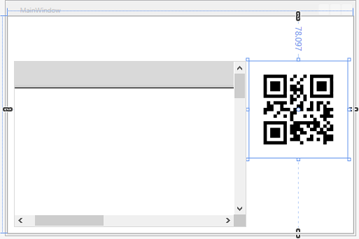
Add a Button to the form and add Insert Barcode as the Content.
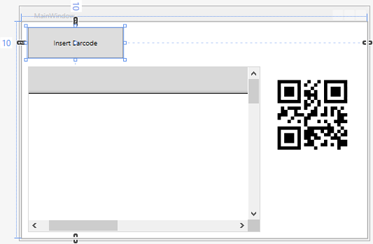
Double-click the just created button to insert the Clicked event handler.
Add the following code to the Click procedure of the button:
private void Button_Click_1(object sender, RoutedEventArgs e)
{
TXTextControl.DataVisualization.BarcodeFrame bcFrame =
new TXTextControl.DataVisualization.BarcodeFrame(txBarcodeControl1);
textControl1.Barcodes.Add(bcFrame, -1);
}Private Sub Button_Click_1(sender As Object, e As RoutedEventArgs)
Dim bcFrame As New TXTextControl.DataVisualization.BarcodeFrame(txBarcodeControl1)
textControl1.Barcodes.Add(bcFrame, -1)
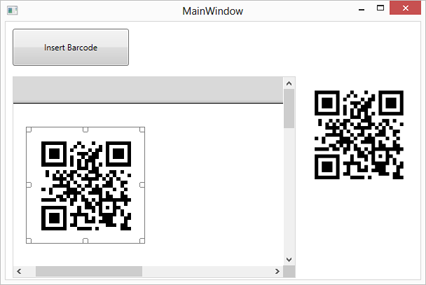
End SubStart the application and click the button Insert Barcode. The TXBarcodeControl object has been added to the document in TextControl and is saved along with the document when saved as a document.
