TX Text Control .NET for Windows Forms Windows Forms GuideTutorial: Getting Started with Windows Forms (.NET 5 and better)
TX Text Control is a royalty-free, fully programmable rich edit control that offers developers a broad range of word and document processing features in a reusable component designed for Visual Studio. It provides comprehensive text formatting, powerful mail merge features and all word processing key concepts such as table support, images, headers and footers and page sections.
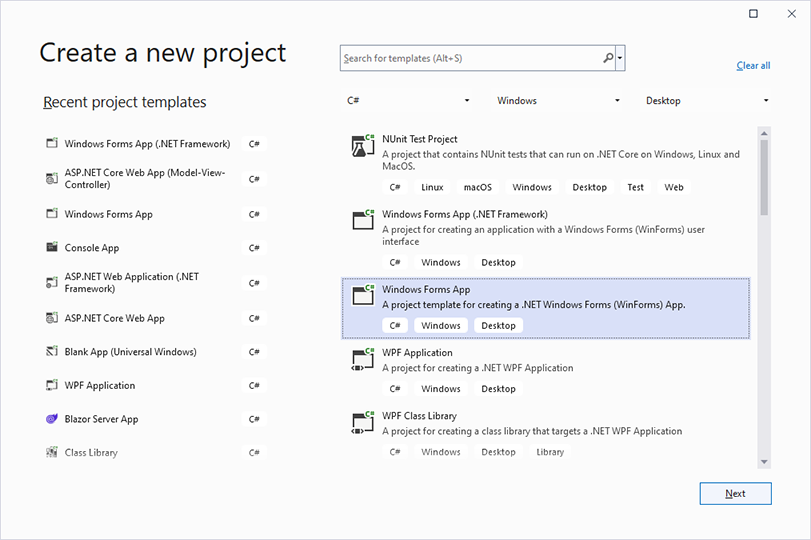
1. Open Visual Studio 2022 and create a new project. Select C# or Visual Basic from the Languages drop-down list, Windows from the Platform list and Desktop as the Project Type. Find the project template Windows Forms App and confirm with Next.

2. Specify a project name confirm with Next.
3. Select your preferred Framework version such as .NET 6 (Long-term support) and confirm with Create.
1. Select the project in the Solution Explorer and click Project -> Manage NuGet Packages... from the main menu.
2. Select Text Control Offline Packages as the Package source and click Browse.
3. Select TXTextControl.TextControl.WinForms.SDK and click Install.

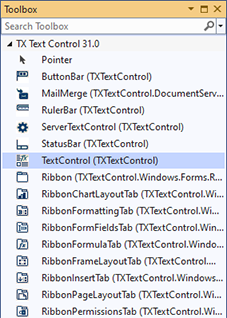
4. In the Solution Explorer, open the form Form1 and find the TX Text Control 31.0 tab in the Toolbox.

5. Select the icon TextControl and draw it onto the opened form.
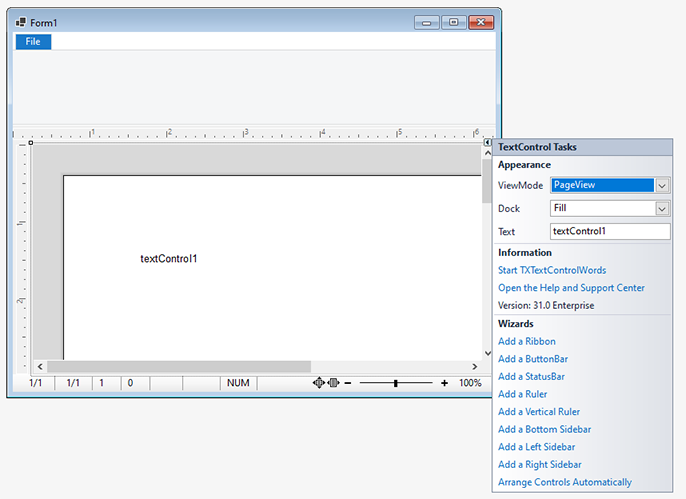
6. Click on the Smart Tag in the upper right corner of TextControl. In the Wizards group, click on Add a Ribbon, Add a Status Bar, Add a Ruler and Add a Vertical Ruler. Finally, click on Arrange Controls Automatically. The controls are now connected and docked to fill the container:

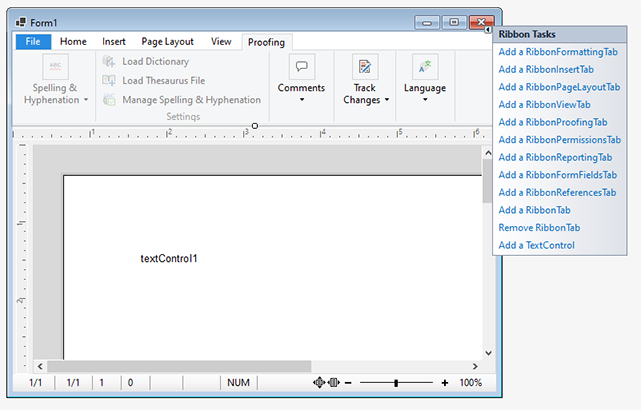
7. On the form, select the ribbon control by clicking the blue File tab title in order to click on the Smart Tag in the upper right corner of the ribbon control. Click on Add a RibbonFormattingTab, Add a RibbonInsertTab, Add a RibbonPageLayoutTab, Add a RibbonViewTab and Add a RibbonProofingTab.

8. Build and start the application.