In many cases, it is necessary to give user specific access to or information about the content of a document. This sample application shows an approach to assign such a user and gives examples where user access plays a role in document editing.
The source code for this example is contained in the following directories:
By running this sample a document is loaded that is mostly write-protected. But one part is marked and highlighted as editable. This region can be modified by every user that opens the document.
Besides such common access, the creator of a document can assign user specific access as follows:
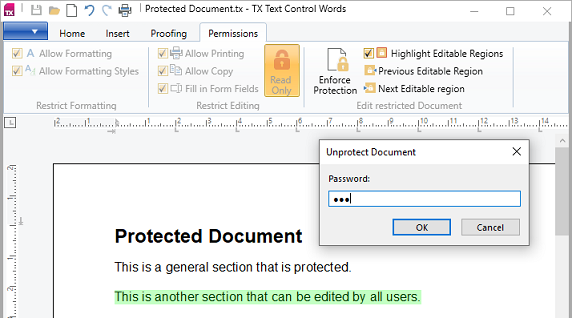
1. Deactivate the write protection by untoggling the Enforce Protection button and entering 123 into the password dialog box.
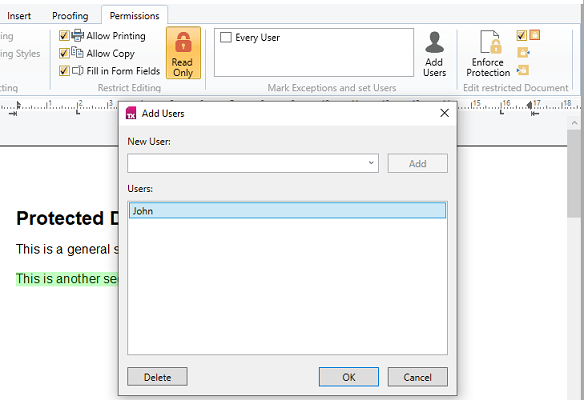
2. Go to the Mark Exceptions and set Users group and click the Add Users button to open the Add Users dialog. Enter the name in the New User text box with which you are logged in to the computer, press the Add button and leave the dialog by clicking OK.
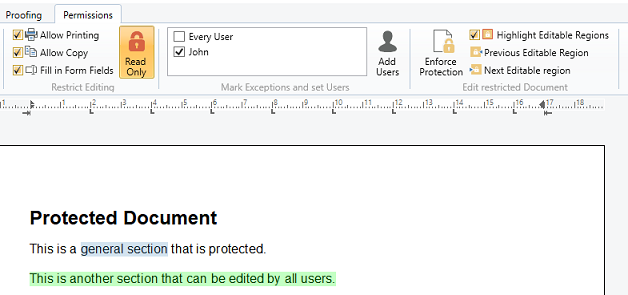
3. Select some text of the document and check the check box of the newly added user.
4. Toggle the Enforce Protection button, enter a password and click OK to make the document write-protected again.
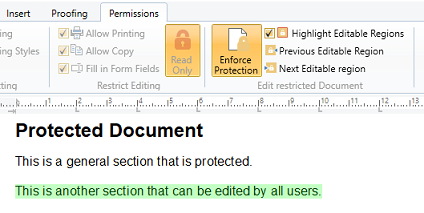
As you can see, only that region is still highlighted that can be changed by every user. To give access to the previously added user, go to the application menu, click on Sign In and create an account.
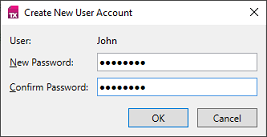
Now you are logged in with the name of the added user. The previously marked regions are now highlighted and can be modified.
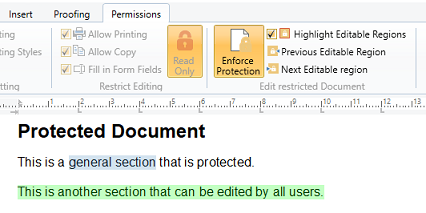
With the implemented user access, also added comments are assigned to the current logged in user:
1. Deactivate the write protection of the document.
2. Go to the Proofing tab, select some text, click on Add Comment and enter some text into the popped up comments text box. The added comment with a reference to the logged in user is shown in the Comments sidebar.

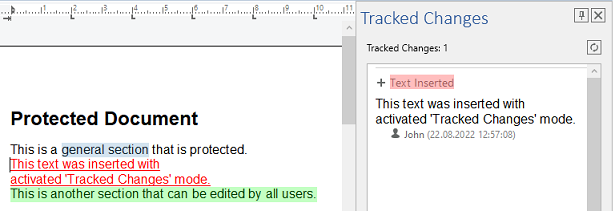
Same with tracked changes:
1. Click on the Tracked Changes... split button to activate the Tracked Changes sidebar.
2. Activate tracking changes by toggling the Track Changes button.
3. Type, delete or replace some text in the document. The created tracked change is displayed with a reference to the logged in user in the sidebar.
The user name that should be set as current user of the TextControl is provided by a password dialog when handling the Click event of the application menu's Sign In button. It is set as single string array argument to the TextControl.UserNames property.
private void SignIn_Click(object sender, EventArgs e) {
// Open the password dialog to sign in or create a user account.
UserAccessDialog dlgUserAccessDialog = m_uiCurrentUser == null ? new UserAccessDialog(m_strUserName) : new UserAccessDialog(m_uiCurrentUser);
if (dlgUserAccessDialog.ShowDialog().Value) {
// Get the UserInfo instance that represents the current signed in user.
m_uiCurrentUser = dlgUserAccessDialog.UserInfo;
// Give the user access to the TextControl.
m_txTextControl.UserNames = new string[] { m_uiCurrentUser.Name };
// Hide the Sign In button.
m_rmiSignIn.IsEnabled = false;
m_rmiSignIn.Visibility = Visibility.Collapsed;
// Show the [Current User] button.
m_rmbtnCurrentUser.IsEnabled = true;
m_rmbtnCurrentUser.Visibility = Visibility.Visible;
// Save the settings of the current user.
SaveKnownUserSettings();
}
}Private Sub SignIn_Click(ByVal sender As Object, ByVal e As EventArgs)
' Open the password dialog to sign in or create a user account.
Dim dlgUserAccessDialog As UserAccessDialog = If(m_uiCurrentUser Is Nothing, New UserAccessDialog(m_strUserName), New UserAccessDialog(m_uiCurrentUser))
If dlgUserAccessDialog.ShowDialog().Value Then
' Get the UserInfo instance that represents the current signed in user.
m_uiCurrentUser = dlgUserAccessDialog.UserInfo
' Give the user access to the TextControl.
Me.m_txTextControl.UserNames = New String() {m_uiCurrentUser.Name}
' Hide the Sign In button.
Me.m_rmiSignIn.IsEnabled = False
Me.m_rmiSignIn.Visibility = Visibility.Collapsed
' Show the [Current User] button.
Me.m_rmbtnCurrentUser.IsEnabled = True
Me.m_rmbtnCurrentUser.Visibility = Visibility.Visible
' Save the settings of the current user.
SaveKnownUserSettings()
End If
End SubThe password dialog itself can be used to handle creating, editing or deleting the user access. The information about the user is stored as a Settings property value when the application is closed.
private void SaveKnownUserSettings() {
// Save the known user to the Properties.Settings.Default.KnownUsers property
Properties.Settings.Default.KnownUser = m_uiCurrentUser;
Properties.Settings.Default.Save();
}Private Sub SaveKnownUserSettings()
' Save the know users to the My.Settings.Default.KnownUsers property
My.Settings.Default.KnownUser = m_uiCurrentUser
Call My.Settings.Default.Save()
End Sub