Trial Backend Access Token
This tutorial uses a hosted backend server that requires a trial backend access token.
You can create your free, personal access token here.
TX Text Control's document processing technologies can be also leveraged by Angular applications. This article shows how to integrate the TX Text Control DocumentViewer into an Angular web application. In addition to this project, a Viewer Backend project is required and can be created using ASP.NET Core. You don't have to actually add a view to this backend server. All you need to do is to add the NuGet package to your .NET Core-based backend server.
This tutorial shows how to create your first Angular application using TX Text Control DocumentViewer for Angular.
This tutorial uses a hosted backend server that requires a trial backend access token.
You can create your free, personal access token here.
Install Node.js® and npm, if not done before.
Open a Command Prompt and install the Angular CLI globally by typing in the following command:
npm install -g @angular/cli
This tutorial uses Visual Studio Code that can be downloaded for free.
Open a Command Prompt and create a new project and default app by typing in the following command:
ng new my-viewer-app
Follow the questions in the command prompt by answering them with "y" to add Angular routing and Enter to confirm CSS as your preferred stylesheet format.
Change into the created folder by typing in the following command:
cd my-viewer-app
Install the TX Text Control document editor package by typing in the following command:
ng add @txtextcontrol/tx-ng-document-viewer
Open this folder in Visual Studio Code by typing in the following command:
code .
In Visual Studio Code, open the file src -> app -> app.component.html, add the following code and save it. Replace yourtoken with your actual access token you created at the beginning of this tutorial.
<tx-document-viewer
width = "800px"
height = "800px"
basePath = "https://backend.textcontrol.com?access-token=yourtoken"
documentData = "SGVsbG8gdGhlcmU="
dock = "Window"
[toolbarDocked] = "true"
documentPath = "test.docx"
[isSelectionActivated] = "true"
[showThumbnailPane] = "true">
</tx-document-viewer>Back in the command prompt, start the Angular application by typing in the following command:
ng serve --open
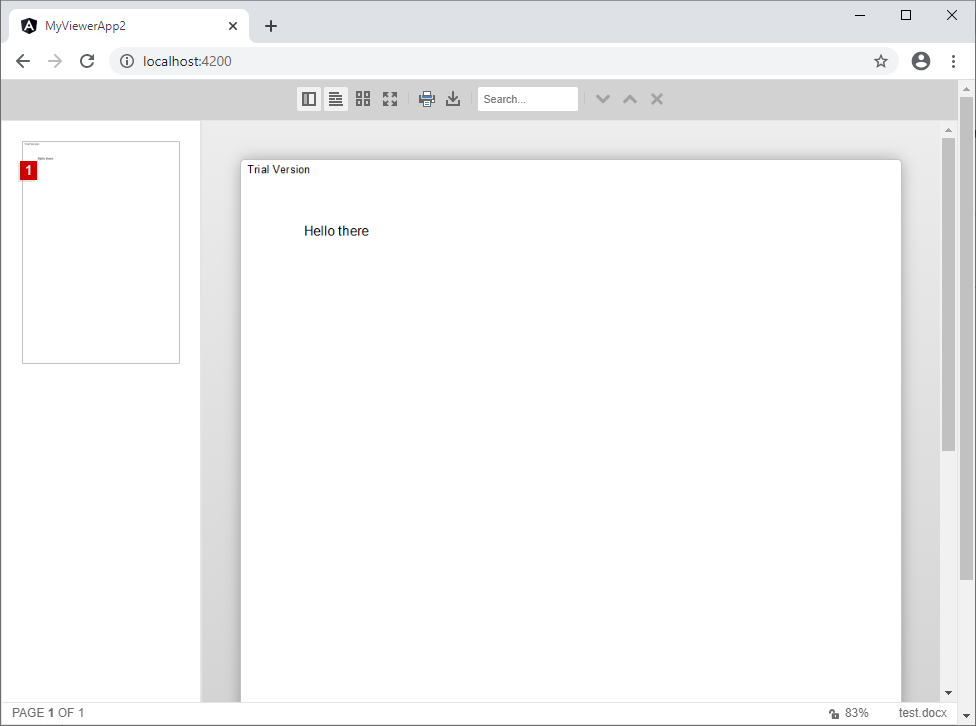
Your default browser is opened with your created Angular app:

The following lists the available component attributes. Mandatory attributes are width, height and basePath.
<tx-document-viewer
width = "800px"
height = "800px"
basePath = "https://backend.textcontrol.com?access-token=yourtoken"
documentData = "SGVsbG8gdGhlcmU="
dock = "Window"
[toolbarDocked] = "true"
documentPath = "test.docx"
[isSelectionActivated] = "true"
[showThumbnailPane] = "true">
</tx-document-viewer>| Attribute type | Description |
|---|---|
| width string | Specifies the width of the component. Possible values include the unit such as 100% or 500px. |
| height string | Specifies the height of the component. Possible values include the unit such as 100% or 500px. |
| base |
Specifies the backend URL of the backend server endpoint that provides the Document |
| toolbar |
Specifies whether the toolbar is docked or floating. |
| document |
Specified the displayed document name. |
| document |
Sets the document data encoded as a Base64 string. Supported formats are HTML, RTF, DOC, DOCX, PDF and TX. |
| signature |
Specifies the signature settings. |
| is |
Specifies whether text can be selected and copied. |
| show |
Specifies whether the thumbnail sidebar is visible or not. |
| dock string | Specified how the control is docked. Possible values are "Fill" and "Window". |
| resources string[] | Specifies resources for the displayed strings. |
<tx-document-viewer
width = "800px"
height = "800px"
basePath = "https://backend.textcontrol.com?access-token=yourtoken"
dock = "Fill"
[toolbarDocked] = "true"
documentPath = "test.docx"
[isSelectionActivated] = "true"
[showThumbnailPane] = "true"
[signatureSettings] = "{
showSignatureBar: true,
signatureBoxName: 'txsign',
redirectUrlAfterSignature: 'https://www.textcontrol.com',
ownerName: 'Paul', signerName: 'Jacob',
signerInitials: 'PK' }">
</tx-document-viewer>| Attribute type | Description |
|---|---|
| signer |
Specified the name of the signer that is displayed in the signature soft pad. |
| signer |
Specified the initials of the signer that is displayed in the signature soft pad. |
| unique |
Specifies a unique ID that is used as the document envelope ID. |
| redirect |
Specifies a valid Url that is used to redirect the page after a successful signature process. |
| owner |
Specifies the signature requestor name that is displayed in the signature bar. |
| signature |
Specifies the name of the text boxes in the document to be signed that is converted into a signature input box. |
| show |
Specifies whether a signature bar is shown at the top of the document viewer. |
All client-side packages are based on the same component and supports the same JavaScript interface:
It is possible to access the object directly using this object or by wrapping the interface in TypeScript as shown in the above demo that shows how to load documents.