Trial Backend Access Token
This tutorial uses a hosted backend server that requires a trial backend access token.
You can create your free, personal access token here.
TX Text Control for Angular is used to integrate the TX Text Control HTML5-based document editor in Angular applications. In addition to this project, a WebSocketServer project is required and can be created using ASP.NET MVC or Node.js.
This quick-start tutorial uses a hosted demo WebSocketServer endpoint that can be used for evaluation purposes. In order to deploy an application that uses TX Text Control for Angular, a WebSocketServer must be hosted and the synchronization TCP Service needs to be installed on a Windows Server machine. Therefore, refer to the Development and Redistribution article in the ASP.NET documentation.
This tutorial shows how to create your first Angular application using the TX Text Control document editor.
This tutorial uses a hosted backend server that requires a trial backend access token.
You can create your free, personal access token here.
Create your free trial access token here:
Install Node.js® and npm, if not done before.
Open a Command Prompt and install the Angular CLI globally by typing in the following command:
npm install -g @angular/cli
This tutorial uses Visual Studio Code that can be downloaded for free.
Open a Command Prompt and create a new project and default app by typing in the following command:
ng new my-editor-app
Follow the questions in the command prompt by answering them with "y" to add Angular routing and Enter to confirm CSS as your preferred stylesheet format.
Change into the created folder by typing in the following command:
cd my-editor-app
Install the TX Text Control document editor package by typing in the following command:
ng add @txtextcontrol/tx-ng-document-editor
Open this folder in Visual Studio Code by typing in the following command:
code .
In Visual Studio Code, open the file src -> app -> app.component.html, add the following code and save it. Replace yourtoken with your actual access token you created at the beginning of this tutorial.
<tx-document-editor
width="1000px"
height="500px"
webSocketURL="wss://backend.textcontrol.com?access-token=yourtoken">
</tx-document-editor>Back in the command prompt, start the Angular application by typing in the following command:
ng serve --open
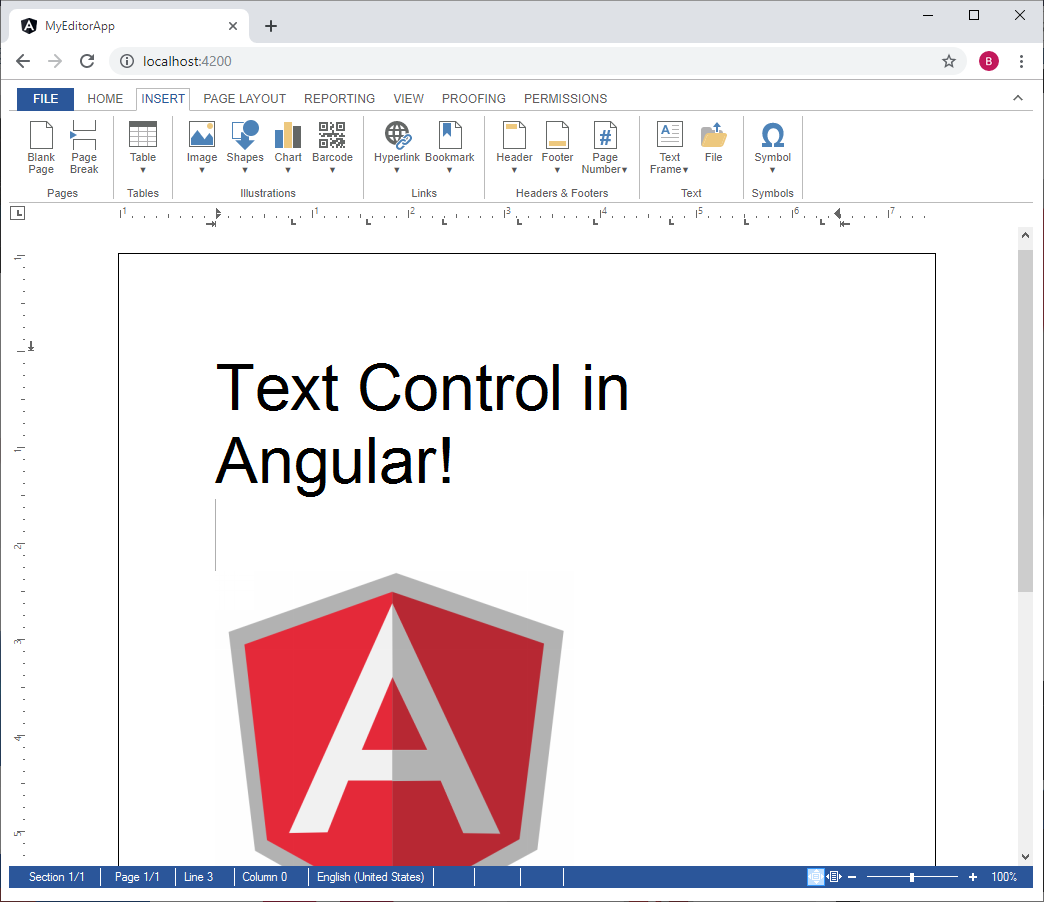
Your default browser is opened with your created Angular app:

The following lists the available component attributes. Mandatory attributes are width, height and webSocketURL.
<tx-document-editor
width="1000px"
height="500px"
webSocketURL="wss://backend.textcontrol.com?access-token=yourtoken"
[documentTargetMarkers]="true">
</tx-document-editor>| Attribute type | Description |
|---|---|
| width string | Specifies the width of the component. Possible values include the unit such as 100% or 500px. |
| height string | Specifies the height of the component. Possible values include the unit such as 100% or 500px. |
| web |
Specifies the URL of the backend Web |
| document |
Specifies whether markers for hypertext targets are shown in the editor. |
| back |
Specifies the background color of the main text area and the ruler bars as a CSS hex string. Example: #FF00FF. |
| status |
Specifies the background color of the status bar as a CSS hex string. Example: #FF00FF. |
| edit |
Specifies the Javascript: TXText |
| context |
Specifies whether a right-click opens a context menu or not. |
| save |
Specifies whether a confirmation dialog should be shown before discarding unsaved changes. |
| table |
Specifies whether table grid lines are shown in the editor or not. |
| text |
Specifies whether text frames that have no border line are shown with marker lines. |
| control |
Specifies whether control characters are visible or not. |
| text |
Specifies whether text fields are editable or not. |
| formatting |
Specifies the name of a printer that is used to calculate text dimensions and capabilities that are used to format the document. |
| culture string | Specifies the culture that is used to format strings such as date and time values. |
| ui |
Specifies the user interface culture that affects the string resource language for opened dialog boxes or messages. |
| user |
Specifies an array of names defining users who have access to editable regions. When a document is set to read-only, all editable regions that are related to these users can be edited. The first name in the string array is also the currently active user for document reviewing actions such as track changes. |
This tutorial shows how to use the Javascript: TXTextControl Object to load and save documents within an Angular application.
Create a basic Angular application as described in the TX Text Control for Angular tutorial.
Create a folder named js in the folder src/assets/ and create a new JavaScript file named custom.js.
function saveDocument() {
TXTextControl.saveDocument(TXTextControl.StreamType.HTMLFormat,
function (e) {
console.log(e.data);
});
}
function loadDocument() {
TXTextControl.loadDocument(TXTextControl.StreamType.HTMLFormat,
btoa('<strong>Test</strong>'));
}And add this JavaScript file to the scripts array of the projects architect/build/options element in the angular.json file:
"scripts": [
"src/assets/js/custom.js"
]Add the declaration and the methods onClickSave and onClickLoad to the app.component.ts TypeScript file, so that the complete file looks like this:
import { Component } from '@angular/core';
declare const saveDocument: any;
declare const loadDocument: any;
@Component({
selector: 'app-root',
templateUrl: './app.component.html',
styleUrls: ['./app.component.css']
})
export class AppComponent {
title = 'my-editor-app';
onClickSave() {
saveDocument();
}
onClickLoad() {
loadDocument();
}
}Finally, add two buttons to the app.component.html with the Angular click handlers:
<tx-document-editor width="1024" height="800" port="8080"></tx-document-editor>
<div>
<button (click)="onClickLoad()" class="btn btn-primary">Load Document</button>
<button (click)="onClickSave()" class="btn btn-primary">Save Document</button>
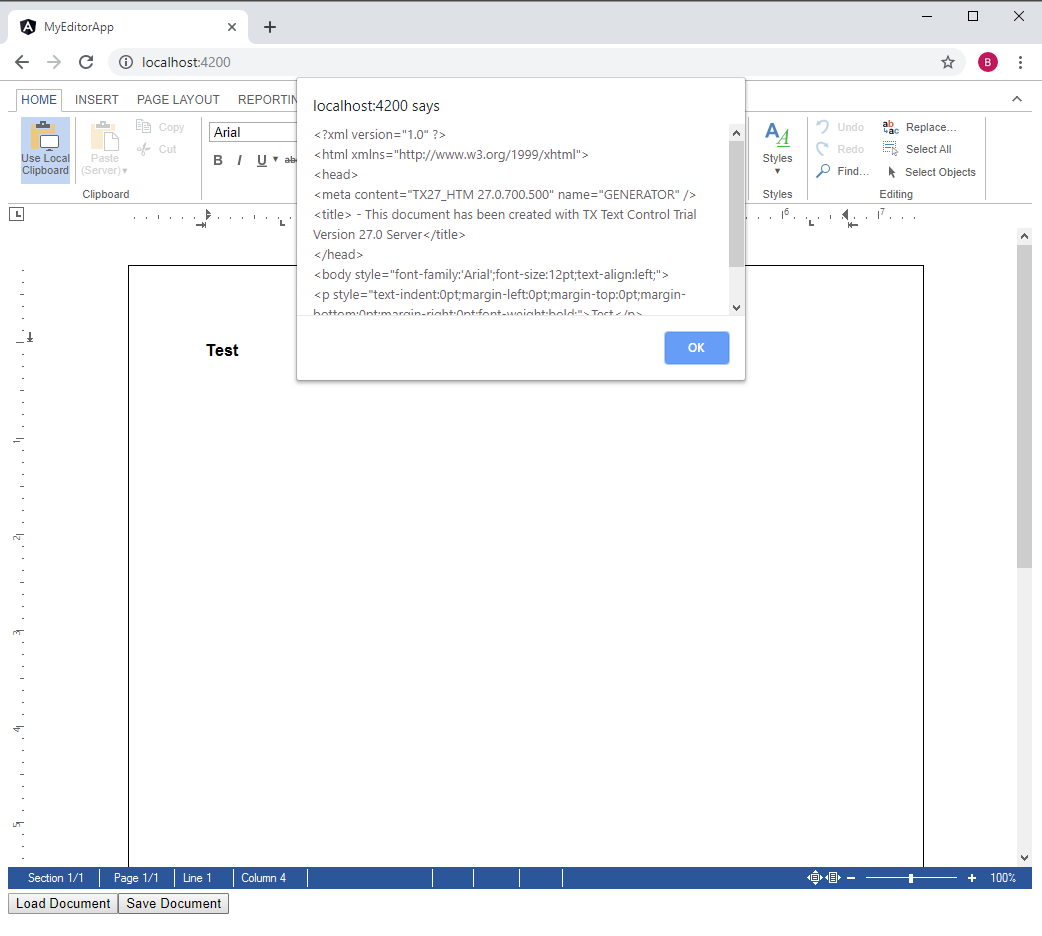
</div>When executing the application, an HTML document is loaded into the editor and the save button alerts the resulting HTML from the saveDocument method.

All client-side packages are based on the same component and supports the same JavaScript interface:
Javascript: TXTextControl Object
It is possible to access the object directly using this object or by wrapping the interface in TypeScript as shown in the above demo that shows how to load documents.