Trial Token
If you are evaluating DS Server and you are using a trial token, you can skip the Prerequisites - DS Server Installation and the DS Server Setup part and continue with the integration.
This article shows how to setup a new project with DS Server and how to use the document editor npm package in a React application.
If you are evaluating DS Server and you are using a trial token, you can skip the Prerequisites - DS Server Installation and the DS Server Setup part and continue with the integration.
In order to follow these tutorials, DS Server must be successfully installed and licensed on a server. To learn how to do that, read the following articles:
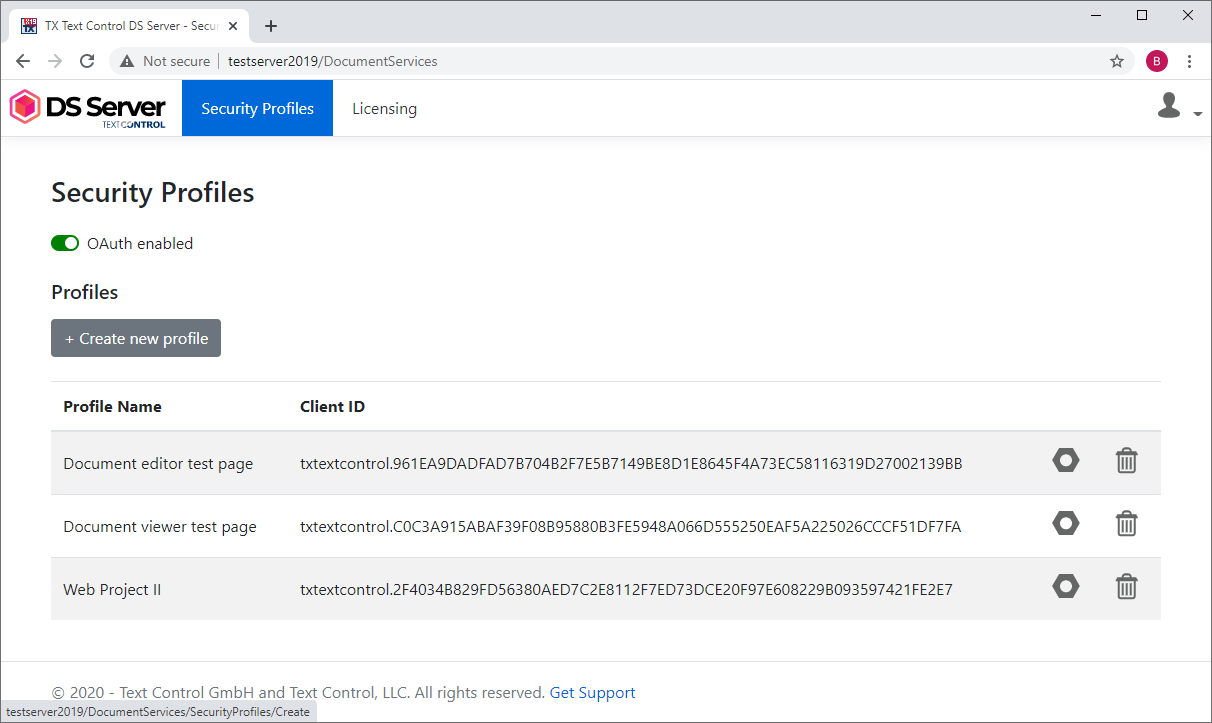
In the DS Server admin portal, a new security profile needs to be added.
Select Security Profiles from the main menu to open the security profile overview. Click on Create new profile to create a new security profile:

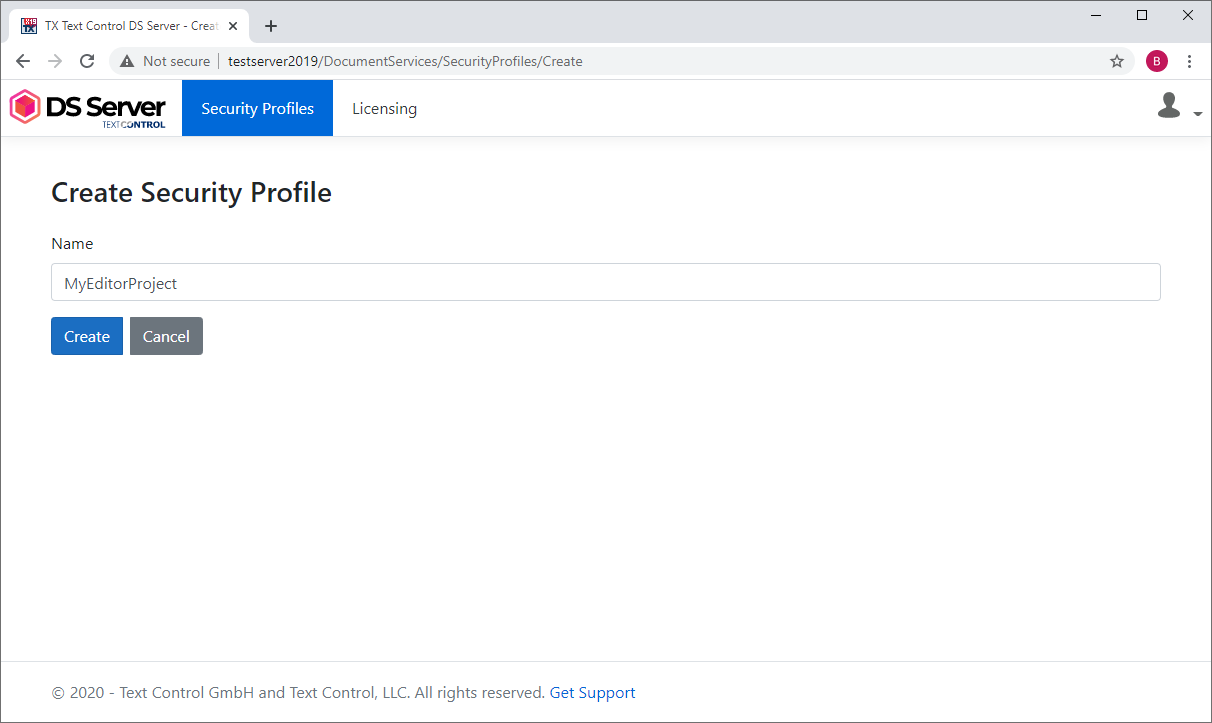
Type in a name and confirm with Create:

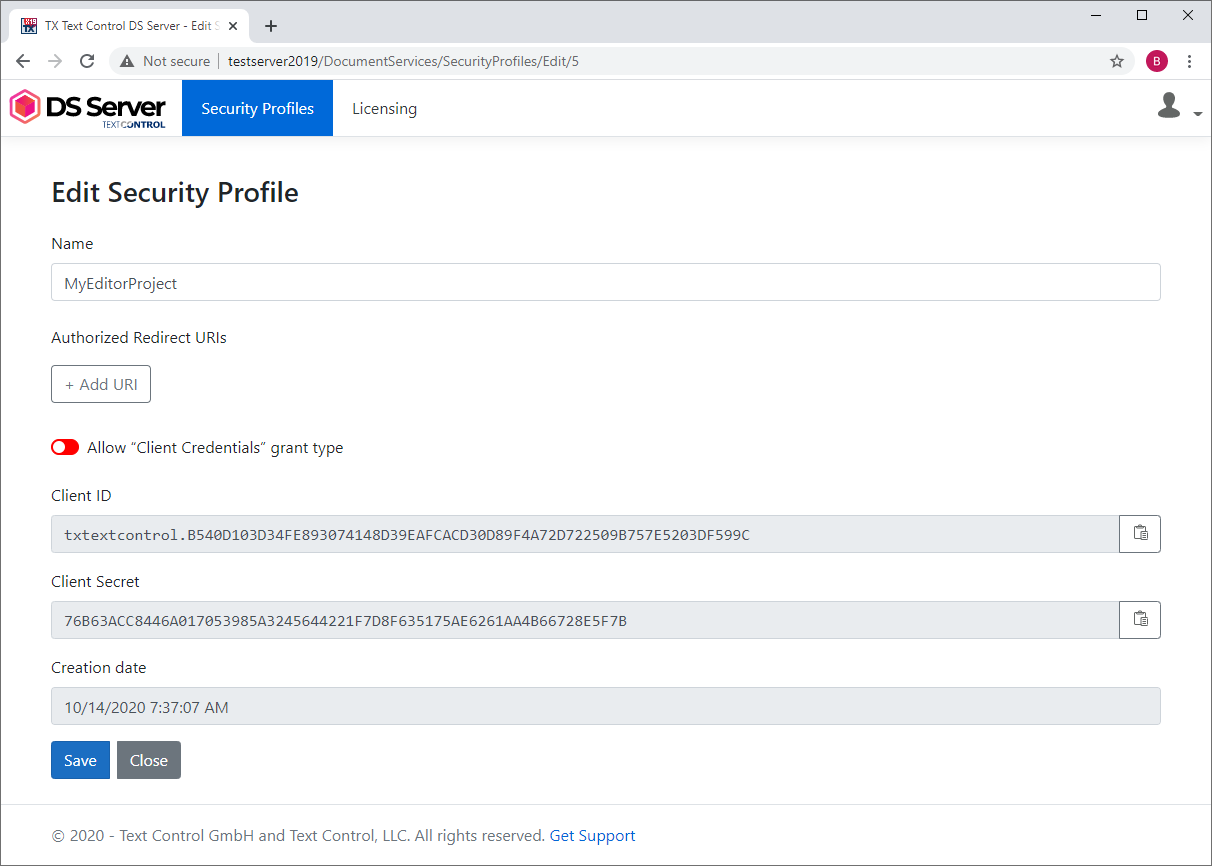
The profile details are shown including the Client ID and Client Secret values required for the OAuth authentication flow:

In the next step, a new React Application is created.
Open a Command Prompt and install create-react-app by running this command in your terminal:
npm install -g create-react-app
Run the following command to create a React application named my-ds-react-editor-app:
npx create-react-app my-ds-react-editor-app
Change into the created folder by typing in the following command:
cd my-ds-react-editor-app
Install the TX Text Control document editor package by typing in the following command:
npm install --save @txtextcontrol/tx-react-ds-document-editor
Open this folder in Visual Studio Code using this command:
code .
In Visual Studio Code, open the file src -> App.js, replace the content with the following code and save it. Replace yourtoken with your actual access token you created at the beginning of this tutorial.
import DocumentEditor from '@txtextcontrol/tx-react-ds-document-editor'
function App() {
function handleDocumentEditorLoad() {
console.log('The TXTextControl object exists from now on.');
window.TXTextControl.addEventListener("textControlLoaded", function() {
var sel = window.TXTextControl.selection;
sel.setText("Welcome to DS Server", function() {
sel.setStart(11);
sel.setLength(9);
sel.setBold(true);
sel.setFontSize(30);
});
});
}
return (
<DocumentEditor
style={{width:"1024px", height:"500px" }}
serviceURL="https://trial.dsserver.io"
onLoad={handleDocumentEditorLoad}
authSettings={{
clientId:"dsserver.u5NQQHkgjmCRAOeChUVc19zNFJ9aivKz",
clientSecret:"tPGgkutg8oYuSHPbfuRfE5DMf9arUCEg"}}>
</DocumentEditor>
);
}
export default App;Back in the command prompt, start the React application by typing in the following command:
npm install -g serve