This very easy-to-use getting started tutorial shows how to use the Template Designer TX Text Control Words with a sample template and database and illustrates how to integrate the merging process into your .NET based application.
Used TX Text Control controls:
This very easy-to-use getting started tutorial shows how to use the Template Designer with a sample database and templates and how to integrate the merging process into your .NET application.
![]()
1. Open Visual Studio and create a new Windows Forms application.
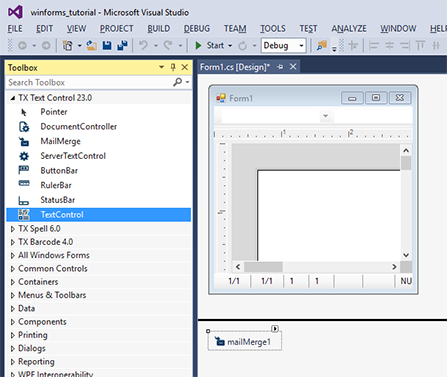
2. Find the SmartTag of the MailMerge component in the component tray. Click Connect to Text Component to connect MailMerge with the TextControl instance.
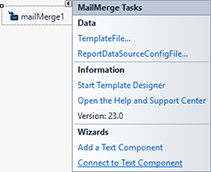
3. In the same SmartTag of MailMerge, click Start Template Designer to open TX Text Control Words.
![]()
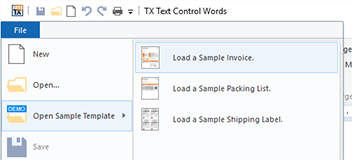
1. Load the sample template Invoice using the Open Sample Template menu entry from the main menu File.
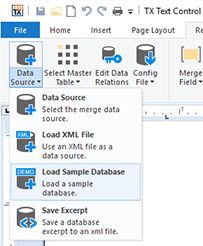
2. Open the Select Data Source drop-down button of the Reports ribbon tab and click Load Sample Database.
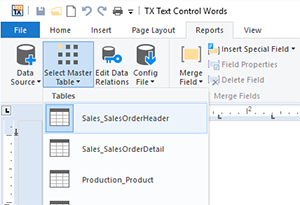
3. Make sure that the table Sales_SalesOrderHeader is selected from the drop-down list button Select Master Table.
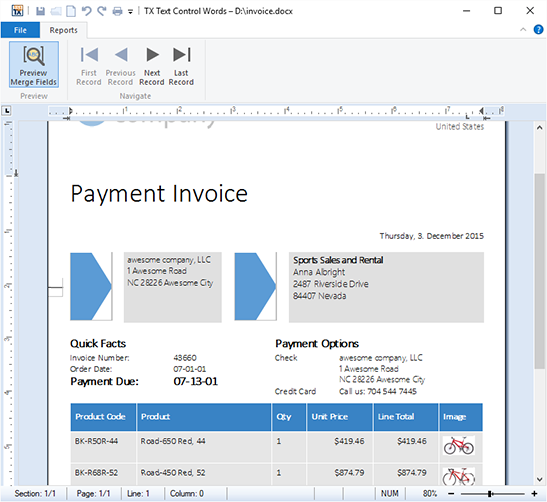
4. Now select Preview Merge Fields from the Preview ribbon tab. Confirm the opened dialog with OK to select the number of records for the preview process.
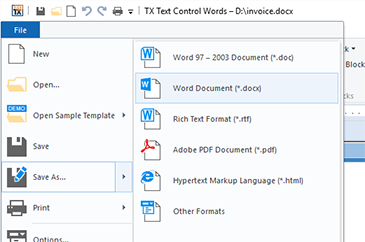
5. Uncheck Preview Merge Fields and save the template as a DOCX document using the Save As... menu entry from the main menu File.
![]()
1. Back in Visual Studio, open the MailMerge SmartTag, click TemplateFile... and browse for the saved template from Step 2.5 in the opened dialog box.
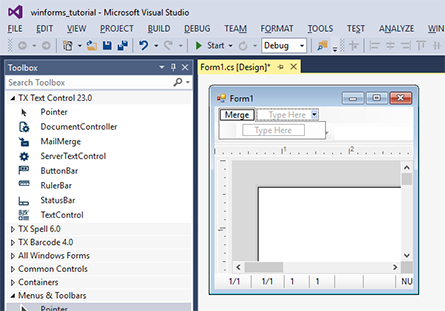
2. Add a MenuStrip to the form, create a menu item called Merge and double-click this item to open the event handler.
Add the following code and change the XML file location in line 1 to match your TX Text Control installation path:
string sDBPath = @"C:\Program Files\Text Control GmbH\TX Text Control 34.0.NET for Windows Forms\Samples\Demo\sample_db.xml";
DataSet ds = new DataSet();
ds.ReadXml(sDBPath);
mailMerge1.Merge(ds.Tables["Sales_SalesOrderHeader"], true)Dim sDBPath As String = "C:\Program Files\Text Control GmbH\TX Text Control 34.0.NET for Windows Forms\Samples\Demo\sample_db.xml"
Dim ds As New DataSet()
ds.ReadXml(sDBPath)
mailMerge1.Merge(ds.Tables("Sales_SalesOrderHeader"), True);3. Compile and start the application, click the menu item Merge to start the merge process.