Trial Token
If you are evaluating DS Server and you are using a trial token, you can skip the Prerequisites - DS Server Installation and the DS Server Setup part and continue with the integration.
This article shows how to setup a new project with DS Server and how to use the document editor npm package in an Angular application.
If you are evaluating DS Server and you are using a trial token, you can skip the Prerequisites - DS Server Installation and the DS Server Setup part and continue with the integration.
In order to follow these tutorials, DS Server must be successfully installed and licensed on a server. To learn how to do that, read the following articles:
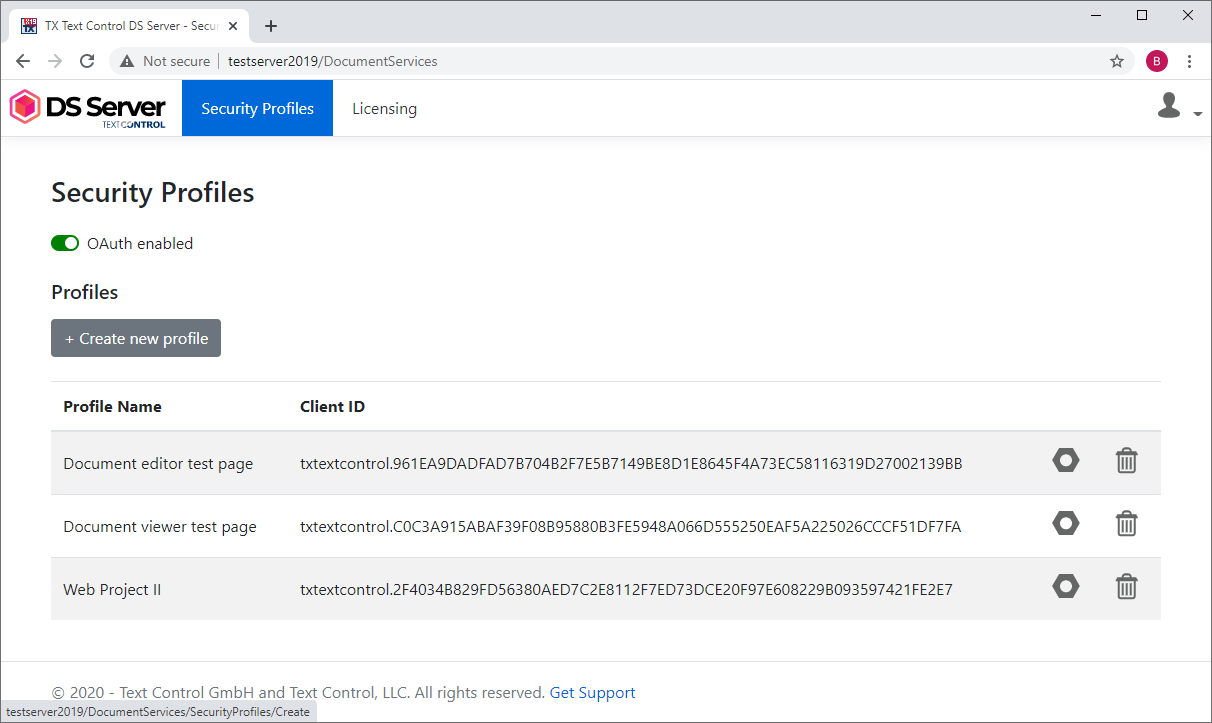
In the DS Server admin portal, a new security profile needs to be added.
Select Security Profiles from the main menu to open the security profile overview. Click on Create new profile to create a new security profile:

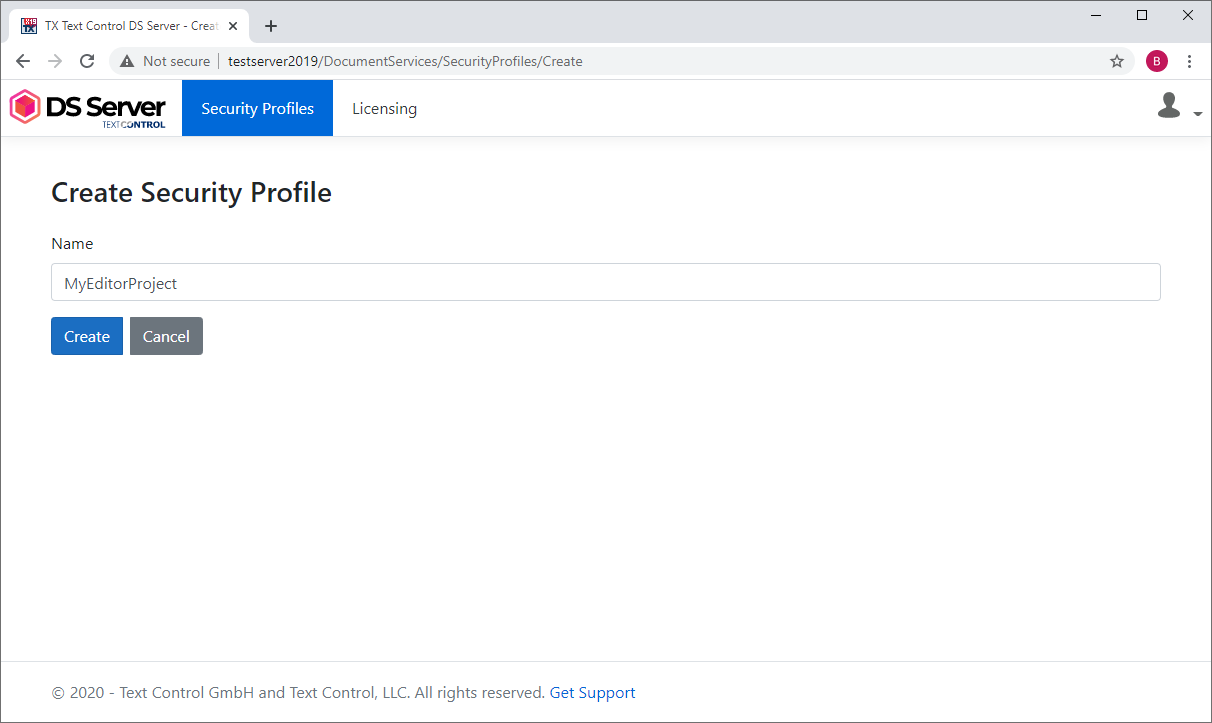
Type in a name and confirm with Create:

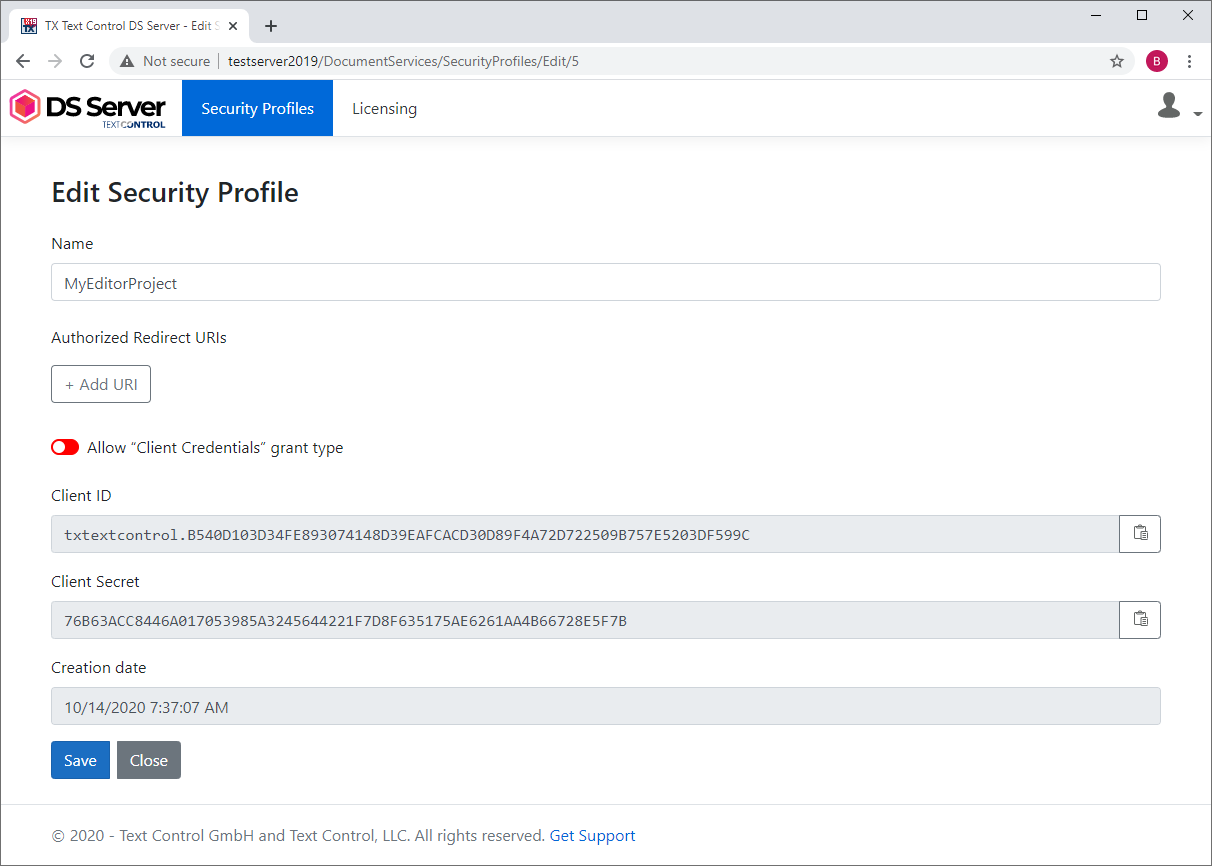
The profile details are shown including the Client ID and Client Secret values required for the OAuth authentication flow:

In the next step, a new Angular Application is created.
Open a Command Prompt and create a new project and default app by typing in the following command:
ng new my-ds-editor-app
Follow the questions in the command prompt by answering them with "y" to add Angular routing and Enter to confirm CSS as your preferred stylesheet format.
Change into the created folder by typing in the following command:
cd my-ds-editor-app
Install the DS Server DocumentEditor package by typing in the following command:
ng add @txtextcontrol/tx-ng-ds-document-editor
Open this folder in Visual Studio Code by typing in the following command:
code .
In Visual Studio Code, open the file src -> app -> app.component.html, add the following code and save it. Replace the oauthClientID and the oauthClientSecret values with your private trial token keys you created at the beginning of this tutorial.
<tx-ds-document-editor
width="1024px"
height="1024px"
serviceURL="https://trial.dsserver.io"
oauthClientID="dsserver.u5NQQHkgjmCRAOeChUVc19zNFJ9aivKz"
oauthClientSecret="tPGgkutg8oYuSHPbfuRfE5DMf9arUCEg"
[userNames]="['user1', 'user2']">
</tx-ds-document-editor>Open the file src -> app -> app.component.ts and replace the complete file with the following code:
import { Component, HostListener } from '@angular/core';
declare const TXTextControl: any;
@Component({
selector: 'app-root',
templateUrl: './app.component.html',
styleUrls: ['./app.component.css']
})
export class AppComponent {
title = 'my-ds-editor-app';
@HostListener('document:dsDocumentEditorLoaded')
onDsDocumentEditorLoaded() {
console.log('The TXTextControl object exists from now on.');
TXTextControl.addEventListener("textControlLoaded", function() {
var sel = TXTextControl.selection;
sel.setText("Welcome to DS Server", function() {
sel.setStart(11);
sel.setLength(9);
sel.setBold(true);
sel.setFontSize(30);
});
});
}
}Back in the command prompt, start the Angular application by typing in the following command:
ng serve --open