
Administration and Settings
After you install DS Server, a few administrative tasks make it ready for your applications: securing the admin portal, registering the license, creating the credentials each application uses and switching on the token check. Each task is done in the admin portal, and each can be automated with the Web API and the TXTextControl.DocumentServices.Admin package.
The Admin Portal
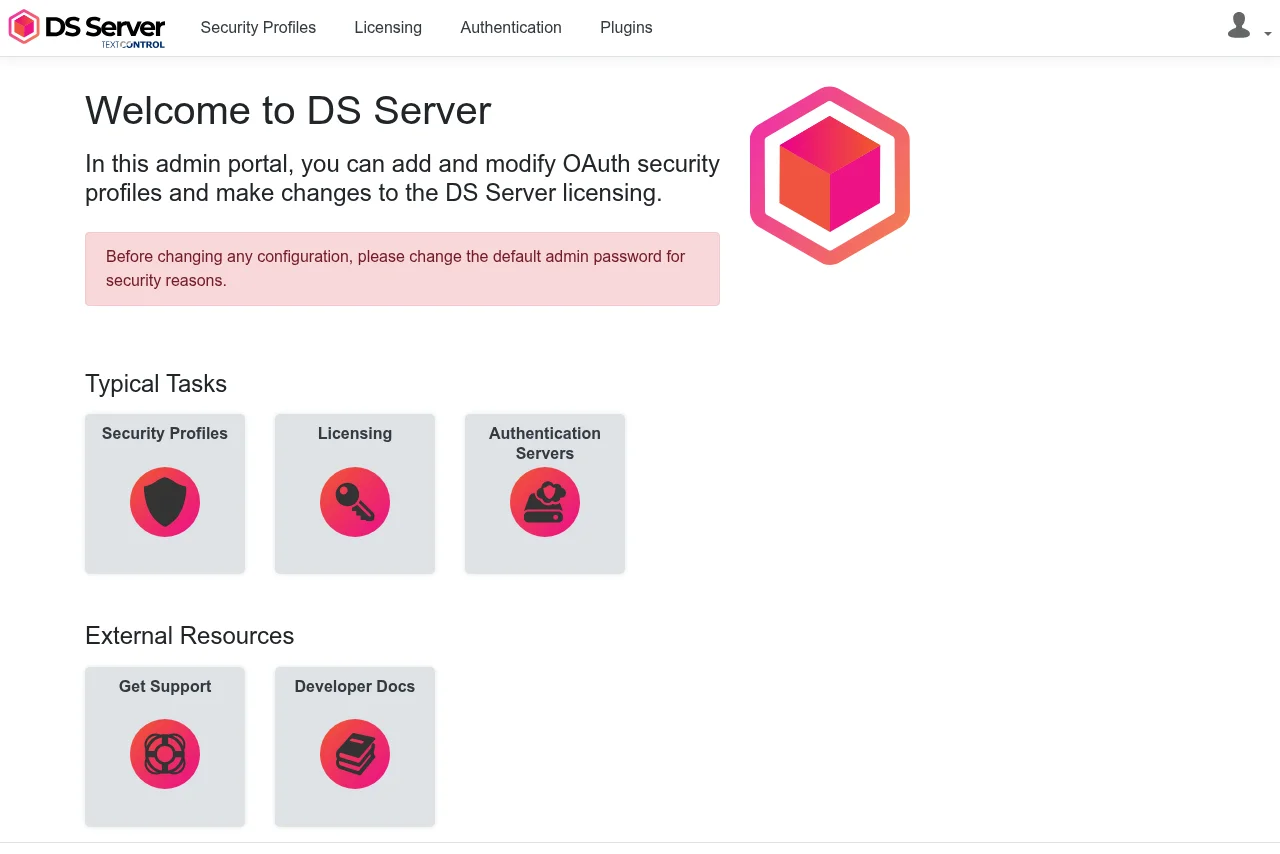
The admin portal is the web interface of DS Server. It is at the root of the service URL, for example http://localhost:5000/, and is protected by the admin user name and password, which your browser asks for in its own sign-in dialog. The navigation bar leads to every part of it:
| Menu item | What you do there | Page |
|---|---|---|
| Security Profiles | Create, edit and delete security profiles, and switch OAuth on or off | Creating Security Profiles, Enable OAuth, OAuth Grant Types |
| Licensing | Register, renew and unregister the license of this server | Licensing |
| Authentication | Register other DS Server instances as authentication servers | Authentication Servers |
| Plugins | See the installed plugins with their name, version, description and state | Plugins |
| User icon, Admin Password | Change the admin password | Default Admin Password |
The Welcome to DS Server page opens after you sign in. Its Typical Tasks tiles lead to Security Profiles, Licensing and Authentication Servers, and the footer shows the version of DS Server, such as "DS Server version 5.0.2".
The Plugins page only lists what DS Server loaded at its start from the Plugins folder, or "No plugins installed."; plugins are installed by copying files, as Plugins describes.
Find the Right Page
| If you want to | Read |
|---|---|
| Sign in for the first time and replace the default password | Default Admin Password |
| Register DS Server with your serial number, online or without Internet access | Licensing |
| Create the client ID and client secret for an application and add its redirect URIs | Creating Security Profiles |
| Make DS Server require access tokens | Enable OAuth |
| Choose between the authorization code and the client credentials flow | OAuth Grant Types |
| Let several DS Server instances accept each other's tokens | Authentication Servers |
Where to Start
On a new installation, work through the tasks in this order:
- Change the admin password, before anything else: Default Admin Password.
- Register the license, because an unregistered server processes no documents: Licensing.
- Create a security profile for each application: Creating Security Profiles.
- Enable OAuth, once your applications have their credentials: Enable OAuth.
Automate the Administration
Every task except the plugins has a Web API equivalent: the Administration and Licensing endpoints. They take the admin user name and password in a Basic Authorization header, not an OAuth token, so scripts can set up new servers without the portal. In .NET, the TXTextControl.DocumentServices.Admin package wraps the administration endpoints in the Admin class; ASP.NET Core lists its methods. It has no methods for licensing.
Pages in This Section
- Default Admin Password: sign in to the admin portal and change the default password.
- Licensing: register a server online, manually or with the Web API, and what an unregistered server does.
- Creating Security Profiles: create, edit and delete the client credentials of your applications.
- Enable OAuth: switch the token check on and off, and what it changes.
- OAuth Grant Types: the authorization code and the client credentials flow, and how to request tokens with each.
- Authentication Servers: share token validation between several DS Server instances.