
Installing With Official Image From Docker Hub
Text Control publishes the Core build of DS Server as a ready-made Linux container image, txtextcontrol/dsserver-core on Docker Hub. With Docker installed, one command gives you a running server with its admin portal, so this is the quickest way to evaluate DS Server on your own machine.
Follow the steps below to pull and start the image, sign in to the admin portal, register a license and keep the admin database when the container is replaced.
Prerequisites
- Docker, running Linux containers. See Get Docker.
- A serial number for DS Server: the serial number of your license, or the trial serial number that your Text Control account lists under Manage Products after you request the trial version on the DS Server download page. The Licensing Overview explains both.
What the Image Contains
| Build | Core, the contents of the core folder of the DS Server archive |
| Base image | mcr.microsoft.com/dotnet/aspnet:10.0 (Ubuntu 24.04 with the ASP.NET Core Runtime 10.0) |
| Platform | linux/amd64 only. On a machine with an ARM64 processor, the image runs only in x64 emulation, which Docker Desktop provides on a Mac with Apple silicon. |
| Folder | /app, which is also the working directory |
| Port | 5000, HTTP only: the hostsettings.json of the image contains http://*:5000 |
| Start command | dotnet TXTextControl.DocumentServices.dll |
| Volumes | None. The admin database and the logs are written into /app. |
Tags
| Tag | DS Server version | Last updated on Docker Hub |
|---|---|---|
latest | 5.0.1 | June 18, 2026 |
5.0.1 | 5.0.1 | June 18, 2026 |
5.0.0 | 5.0.0 | March 12, 2026 |
4.1.0 | 4.1.0 | September 26, 2025 |
4.0.0 | 4.0.0 | April 30, 2025 |
The newest DS Server release, 5.0.2, is available as the download archive only. To run 5.0.2 in a container, build the image yourself as described in Installing using Docker (Core on Linux).
Pull and Run the Image
Pull the image. Use a version tag to get a defined version, or
latestfor the newest one:docker pull txtextcontrol/dsserver-core:5.0.1Start a container and map port 5000 of your machine to port 5000 of the container:
docker run 5000:5000 dsserver txtextcontrol/dsserver-core:5.0.1-druns the container in the background, and--namegives it a name for later commands such asdocker logs dsserverordocker stop dsserver.Open
http://localhost:5000in a browser. The browser asks for a user name and password in its own sign-in dialog. Enter the default credentials of the admin portal:- User name:
admin - Password:
admin
- User name:
The admin portal opens with the welcome page. A red box asks you to change the default admin password.
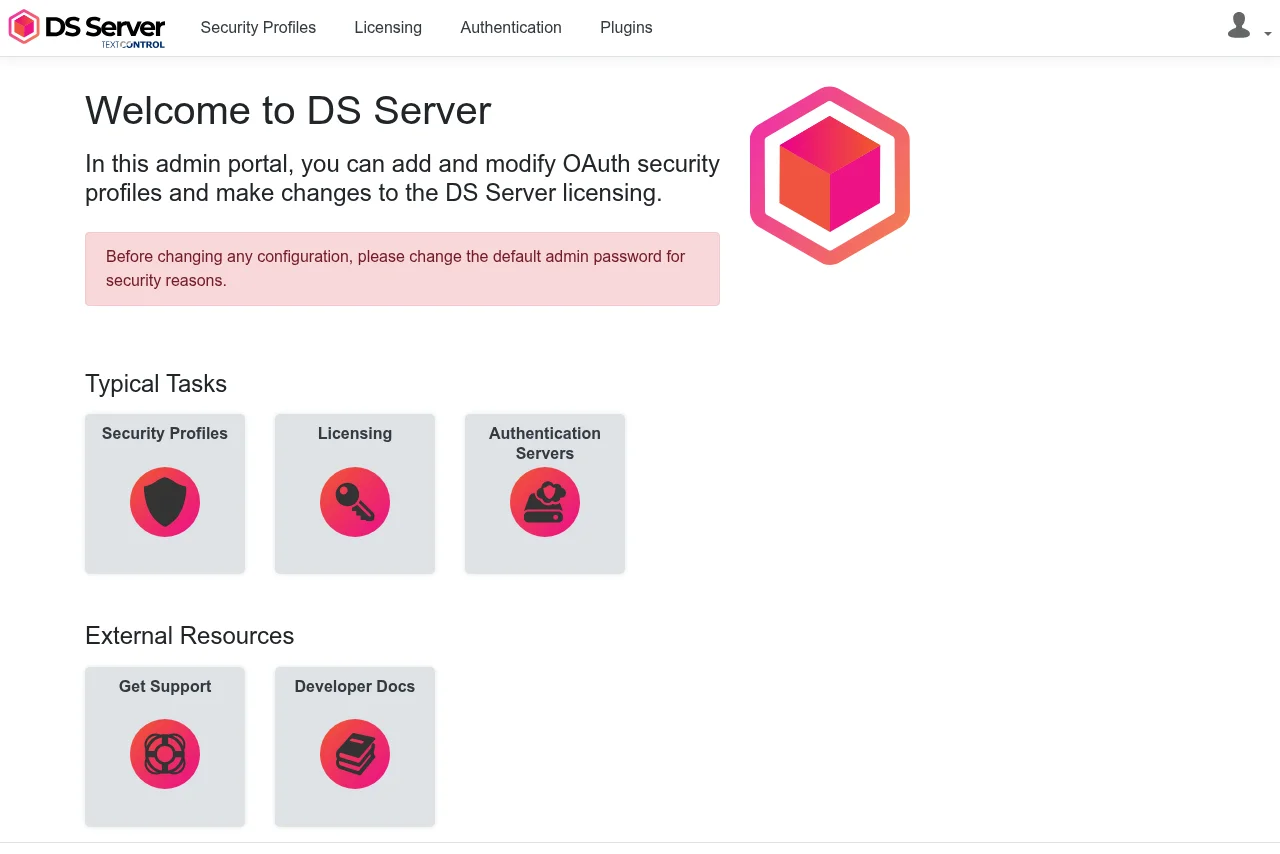
Docker Desktop can start the same image without a terminal: search for txtextcontrol/dsserver-core in its Docker Hub view, click Run and enter 5000 as the host port.
Secure and License the Server
A new container is not registered. Until you register a serial number, the admin portal works, but every DocumentProcessing request is answered with "DS Server is not registered.", and the Document Editor and Document Viewer show the same message.
- Change the admin password. Open the user icon at the upper right, choose Admin Password and set a new password of at least 8 characters. See Default Admin Password.
- Register the serial number. Open Licensing, enter the serial number under Registration and click Register. See Licensing.
- Create a security profile for your application. See Creating Security Profiles.
Keep the Admin Database
Warning
Admin Database in the Container. DS Server stores the admin password, the security profiles and the OAuth setting in the file Admin.db, which it creates in /app on its first start. The file lives in the container: it survives
docker stopanddocker start, but it is lost when you remove the container, for example to update to a new image, and the next container starts with the default password and no security profiles.
To keep it, move the database and the logs to a Docker volume with two environment variables:
docker run 5000:5000 dsserver \
dsserver-data:/data \
LiteDbOptions__DatabaseFileName=/data/Admin.db \
Logging__DSServerFile__Options__FolderPath=/data/logs \
txtextcontrol/dsserver-core:5.0.1
-v dsserver-data:/datacreates the named volume dsserver-data and mounts it at /data.LiteDbOptions__DatabaseFileNamesets the path of the admin database. DS Server creates Admin.db there, with its journal Admin-log.db beside it.Logging__DSServerFile__Options__FolderPathsets the folder of the log files.
The environment variables override the settings of the same name in appsettings.json. Configuration lists the settings.
Serve HTTPS
The image listens on HTTP only. To serve HTTPS, either put the container behind a reverse proxy or load balancer that terminates TLS, or give DS Server a certificate: mount the certificate file into the container and set the Kestrel endpoint with environment variables, as HTTPS shows.
Next Steps
- Default Admin Password: change the default password first.
- Licensing: register the serial number online or manually.
- Getting Started: connect a first application to the server.
- Multiple Servers with Load Balancing: run several containers behind a load balancer.