
Visual Studio Toolbox and Designer
In WPF, TX Spell .NET has no toolbox item. The spell checker is not a visual element: you declare it in XAML as a resource of the window and connect the TextControl of TX Text Control to it by its key. The XAML designer and the Properties window then work with the controls of TX Text Control as usual.
No Toolbox Item
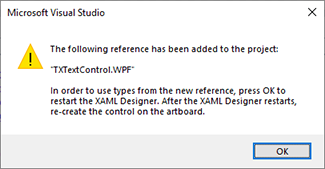
The package TXTextControl.TXSpell.WPF.SDK adds nothing to the toolbox, and neither does TXTextControl.TXSpell.Core.SDK. The controls of TX Text Control, such as the TextControl, ButtonBar and RulerBar, come from the toolbox tab of TX Text Control. When you add the first of them, Visual Studio adds a reference to the project, and the XAML designer asks to be restarted before it can use its types: click OK, then choose Build > Build Solution.
Declare the Spell Checker in XAML
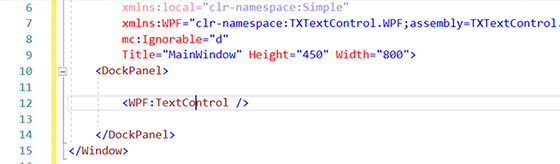
Instead of a toolbox item, you map the namespace TXTextControl.WPF.Proofing of the assembly TXSpell.WPF to a prefix, declare a TXSpellChecker in the resources of the window, and name its key in the SpellChecker property of the TextControl. Connect the Spell Checker in XAML shows the markup, and Use the Spell Checker in Code how the code-behind gets the resource with FindResource.
The prefix of TX Text Control, here WPF, is the one Visual Studio adds when you place the first control from its toolbox tab:
Create Your First WPF Application builds the complete window step by step.
Licensing in the Designer
- .NET 8 or higher. The package embeds its license file into your assembly, so no licenses.licx entry is needed.
- .NET Framework. The project's licenses.licx file needs an entry for the spell checker; Development Licenses shows it.
Next Steps
- Create Your First WPF Application: the spell checker in a window with TX Text Control.
- Toolbox and Designer: when the spell checker isn't known in XAML or spell checking doesn't start.
- Installing Dictionaries and Language Data: the files the spell checker reads.